
3D Furniture Rendering: Cost Effective Processes for Photorealistic Results
3D Rendering helps designers, developers, and consumers better understand products. 3D furniture rendering offers all these benefits but—as with any industry—has some caveats and gotchas to be aware of. Things like carvings, upholstery, and finish requirements can all impact cost. Maintaining an awareness of these will keep price and turn-around times to a minimum.
Project Requirements
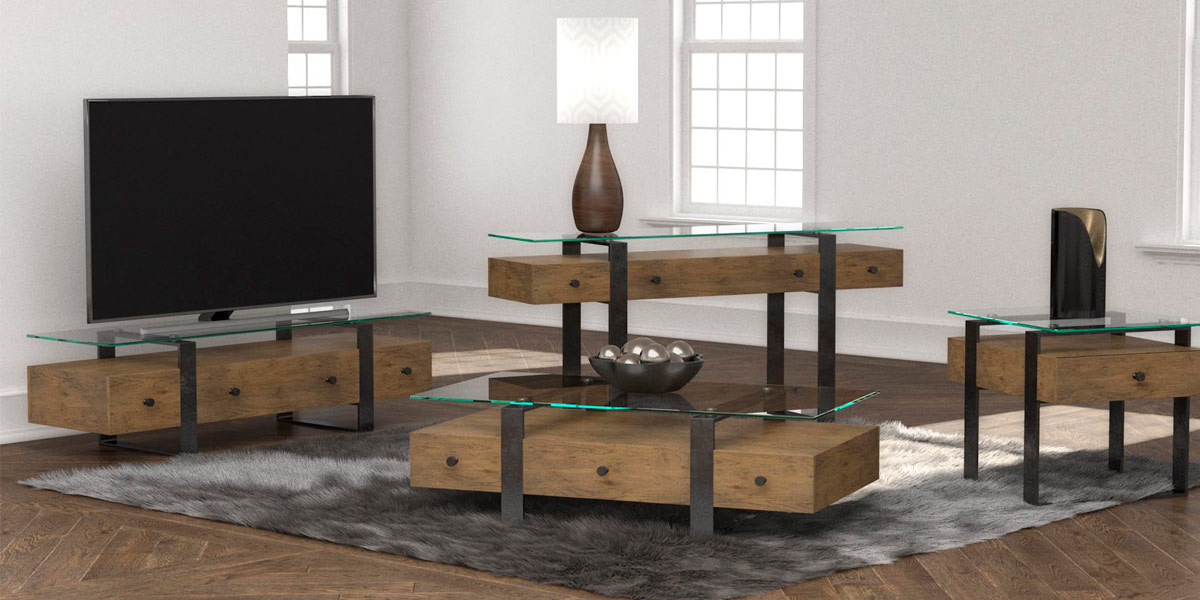
A lifestyle 3D rendering of an occasional collection
3D artists have to be instructed on how to create 3d models and produce 3d renderings. They aren’t aware of the same industry standards and best practices that furniture designers and product developers are. Providing as much information upfront for new projects will reduce revision count and decrease project cost. Here’s a quick list of such details that make things much easier:
- AutoCAD Files – .dwg or similar files of designs or related parts such as hardware, lighting, or USB ports.
- Existing 3D Models – We can work with any format and make adjustments as needed.
- Finish Samples – High-resolution samples are best for exact matches.
- Mood Boards – For lifestyle images, create mood boards or have reference images to direct development
- Notes/Descriptions – More is better. Providing written accounts of what’s expected always helps.
I realize that this information isn’t always available. Our artists and project managers can piece things together well given limited amounts of information to start with. We have an extensive catalog of wood textures we can use to create close matches to finishes when 100% matching isn’t required.
Quotes + Pricing
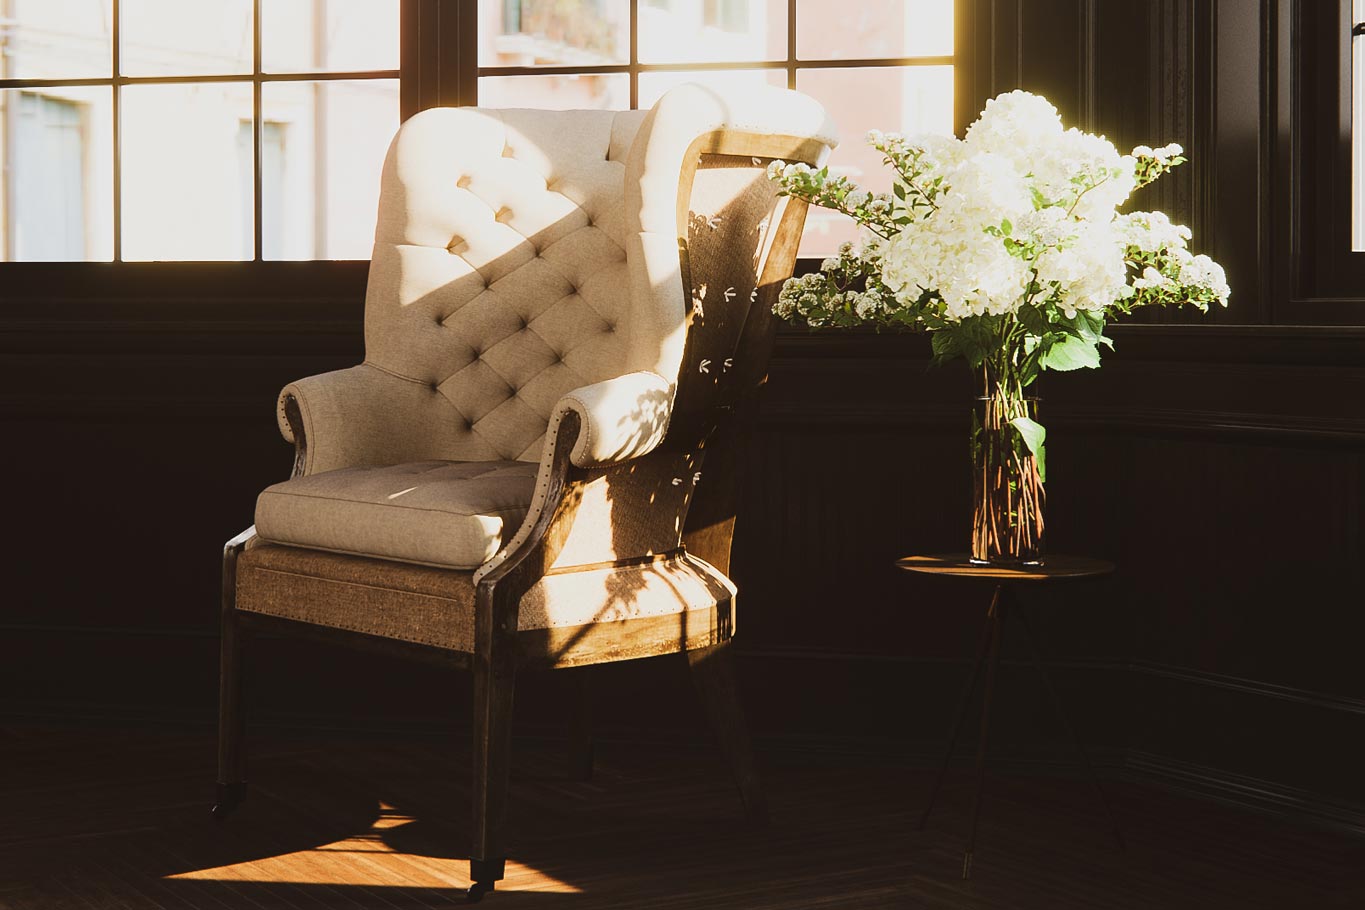
A lifestyle rendering of an antique upholstered chair in a sunny Paris apartment
Prior to work, we will always provide you with a quote. We take into consideration the source files, the project requirements, and the time-frame a project needs to be completed. There are several aspects of furniture rendering that can have a great influence on total project cost. Being aware of these and planning accordingly will keep project cost to a minimum. Here’s a shortlist of what to keep in mind:
- Upholstery is Tricky – Upholstered goods often require more time to model. Things like tufting, custom stitching, slip seat covers and throw pillows take more time to model than case goods.
- 100% Finish Matches – Exact finish matches require exact texture references. If one isn’t already available, we will have to develop one from reference images supplied or approved.
- Detailed Backgrounds – Rendering on plain white backgrounds (silo images) is much cheaper than creating a lifestyle image showcasing a product in a room with complementary decor.
- Finish Complexity – Developing an antique rub-through finish with wire-brushing involves much more time than developing a simple natural walnut finish.
- Similar 3D Models – It’s more cost-effective to render several pieces of furniture from the same collection than several pieces from different collections/groups. Similar elements can be easily scaled, stretched, or altered in such a way that the 3D modeling process can be streamlined.
Quotes are always free and a project manager will provide suggestions on how to keep your project costs to a minimum. This may include suggestions on how to organize files, where to cut corners and creative ways to re-used existing assets.
3D Models
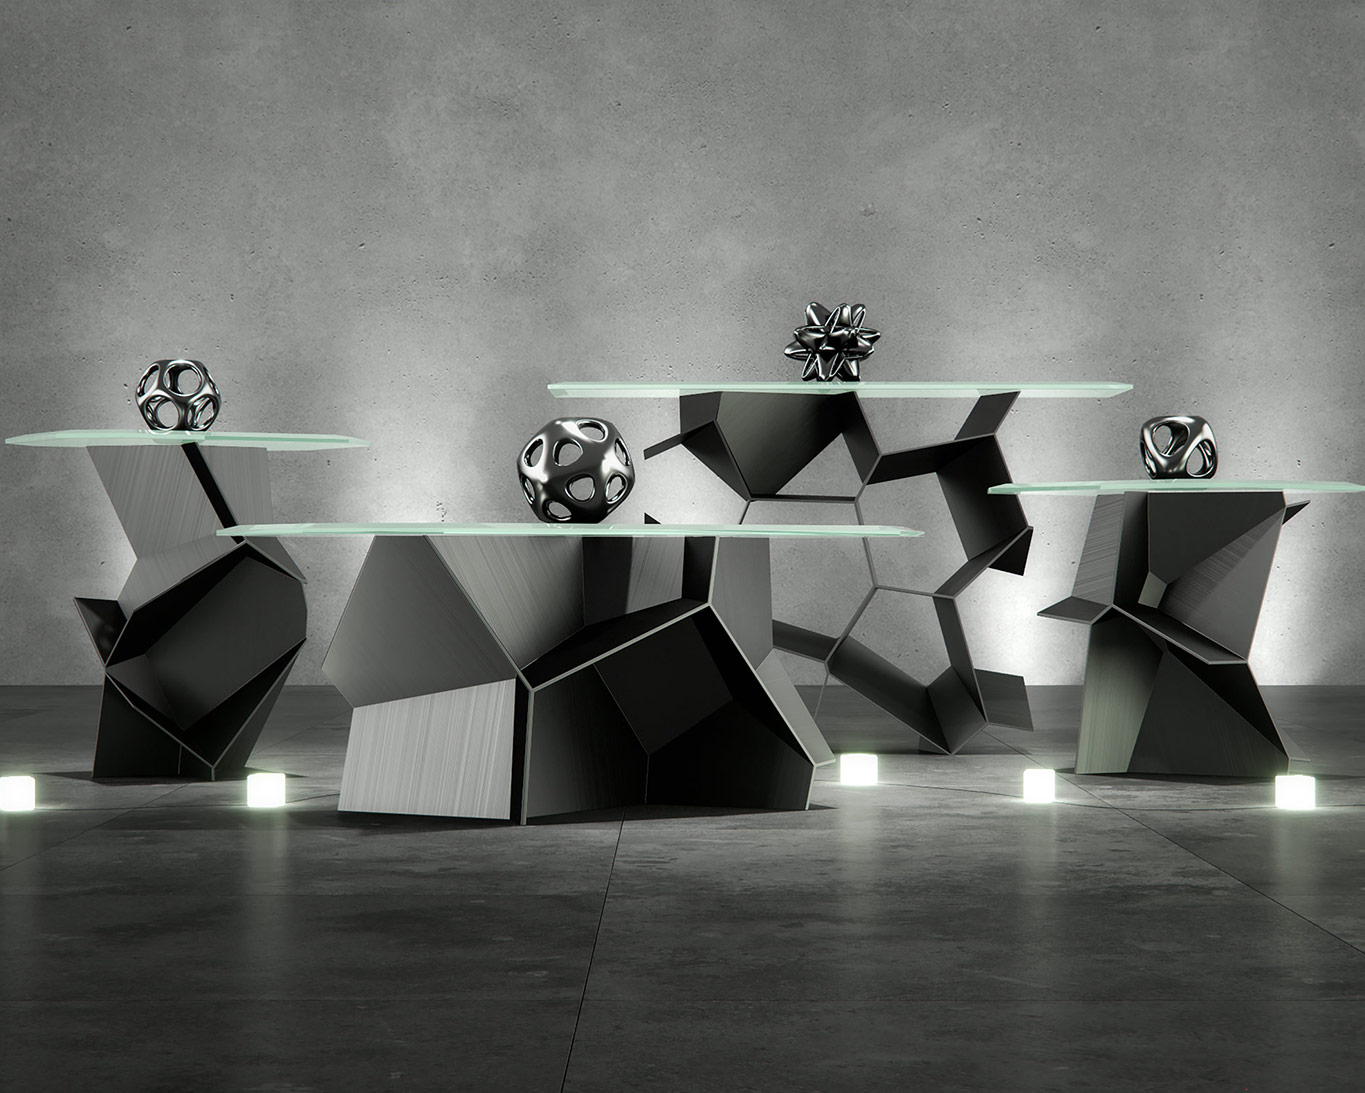
3D rendering of the Voronoi Occasional table collection
The backbone of 3d furniture renderings is the models. Creating 3D models can be a time-consuming process, so it’s important to do some sanity checks prior to starting.
1. Are the reference files reflective of the latest revision?
Revisions are part of any development process. If changes have been made to your design, make sure the reference files you provide have been saved since those changes have been made. This might seem like a minor detail, but sometimes these issues can result in a 3D model being created to the incorrect specification. Sometimes that means starting over from scratch!
2. Is there unnecessary information that could cause confusion?
CAD files contain lots of information sometimes. Some products will contain information that isn’t relevant to the final renderings. Removing these elements from the CAD files prior to 3D modeling will help ensure that artists don’t waste time creating unnecessary elements. Some examples include:
- Drawer sliders
- KD Blocks
- Case-levelers
Our project managers audit all files prior to hand-off to our 3D modelers to avoid these very issues. However, sometimes even they don’t realize that something can be omitted. Having your files as bare-bones as possible always keeps project cost down.
3. Are there any physical requirements not explicitly stated in the source file?
Sometimes project drawings don’t contain details about industry-standard design specifications. You should always assume we don’t know what you know about your industry. Even more, we’ve seen so many variations in from the manufacturer to manufacturer—we’d be afraid to assume anything. Some common details we find omitted:
- Drawer Gap Spacing – Commonly 1/16″ but commonly omitted on CAD files
- Hardware Placements – Specifying offsets like 1/8″ above top-dead-center (TDC) won’t be assumed.
- Score Lines – Let us know if there needs to be a separation between certain elements like stone top inserts.
- Edge Chamfers + Radiuses – We assume all edges get 1/16″ chamfers unless otherwise noted.
3D Scenes
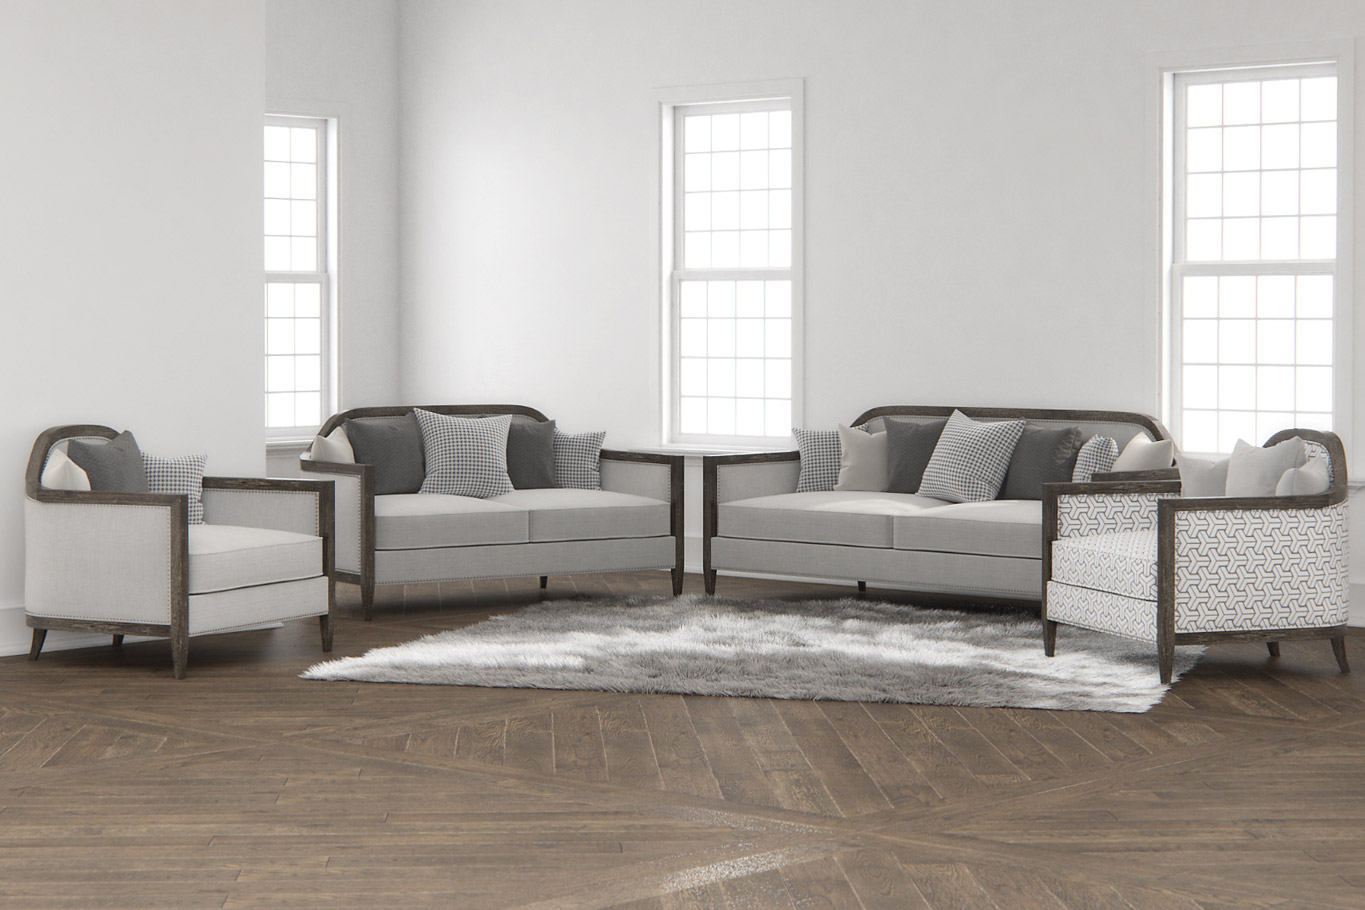
A 3D lifestyle rendering of the Mollis Upholstered Seating Collection
Once a project’s 3D furniture models have been created, an artist will begin creating the 3D scene from which final renderings will be produced. This involves three distinct steps:
1. Importing of 3D models
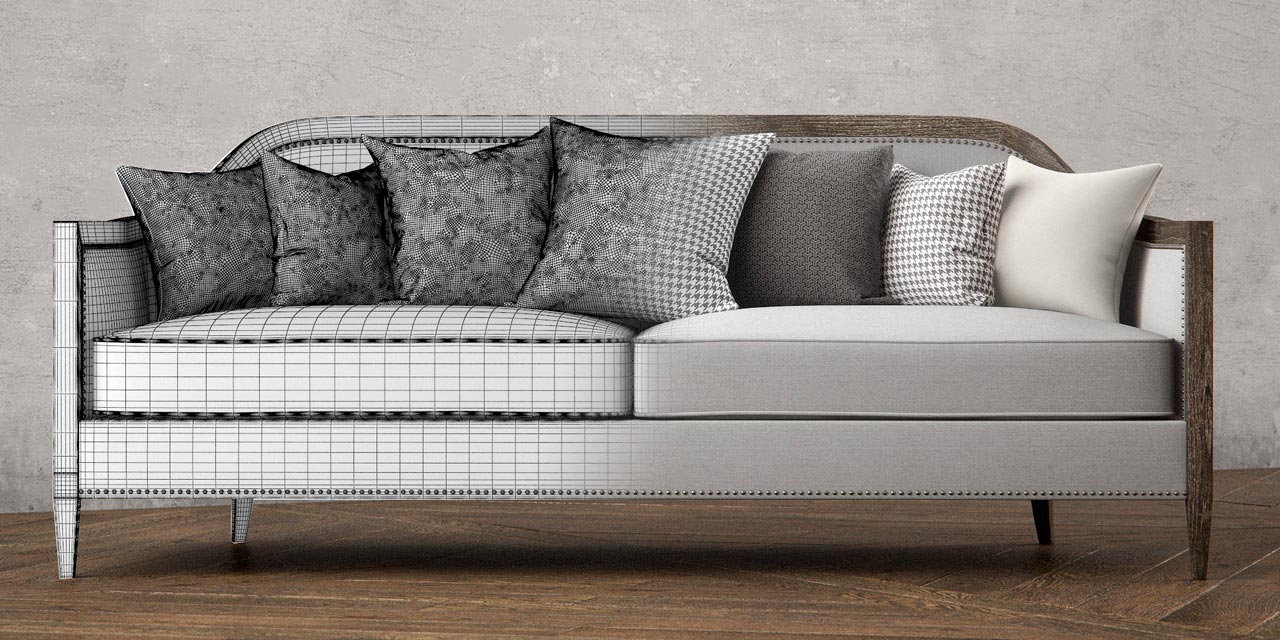
The ‘Mollis’ sofa 3D Model, shown in a wireframe material prior to UV Mapping and Texturing
Our artists first import the 3d furniture models into scenes and begin placing objects for final rendering. If our artists have created the 3D models you have nothing to worry about here. If you are providing 3D models there is a list of things to consider:
- Are the 3D models in a common format we can import?
- Do the 3D models need to be re-scaled?
- What units were the 3D models created in?
- Are there any physical attributes of the model that requires textures to represent? e.g. wicker, hammered metal, seeded glass, etc..
Note: Optional Animation here. The complexity of required animations generally correlates with increases in the project price.
2. UV Mapping + Material Creation
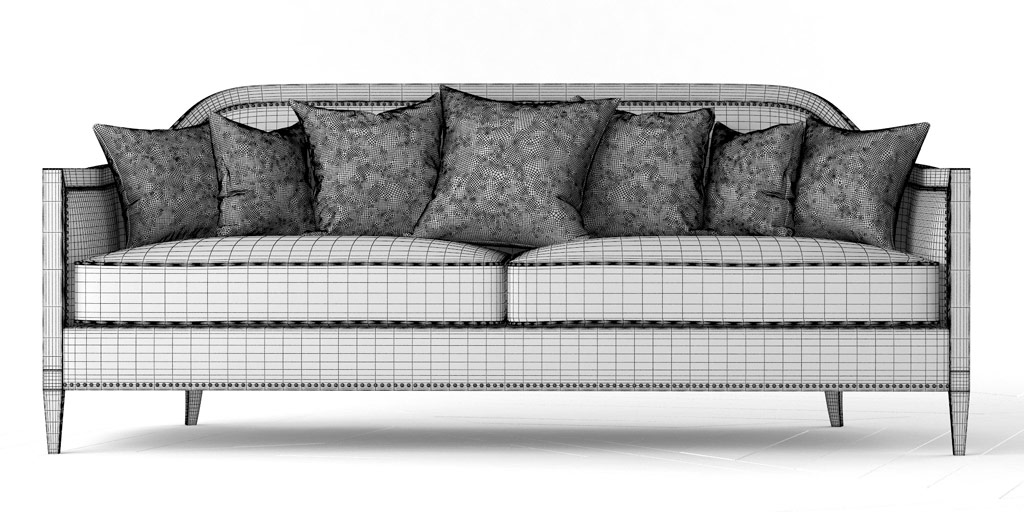
A wireframe overlay of the ‘Mollis’ sofa showing how UV Mapping instructs the 3d rendering software on how to display textures and patterns.
UV Mapping is a process by which a 3D artist tells 3D rendering software how to use a texture to render the final image. This controls things like texture scaling, texture seams, and especially grain direction. If existing 3D models don’t already contain UV Mapping data (or if we can’t import it) this step is still required. We have custom 3D tools that speed this process up but UV mapping is a very manual process in many cases.
3. Lighting + Test Rendering
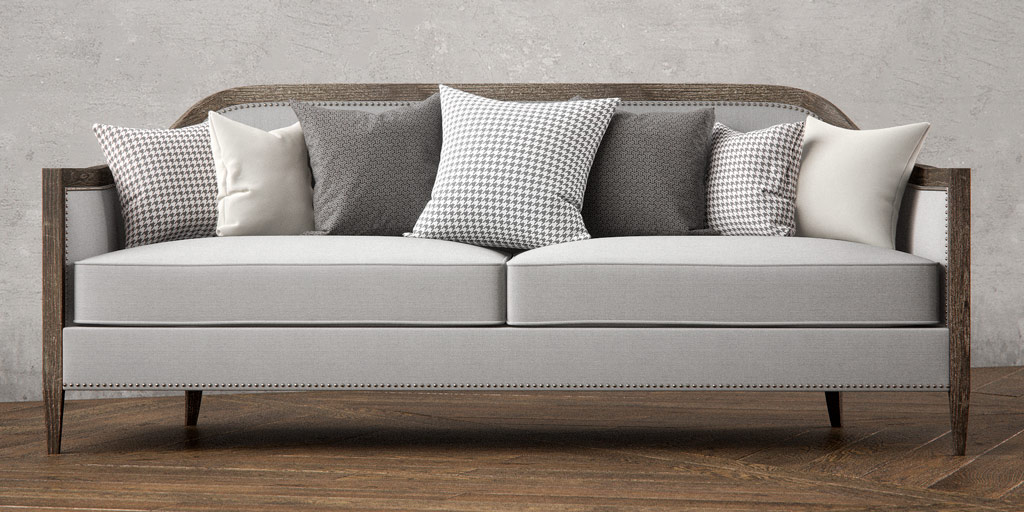
An initial test rendering showcasing the ‘Mollis’ sofa with textures and lighting
After our artists instruct a 3D program on how to scale and place textures, 3D materials must be created to tell the software how a texture should appear in final renderings. This can be a lengthy process depending on how closely a material needs to match a reference image. Some examples of material attributes created in this stage of furniture rendering include the following:
- Reflectance
- Glossiness
- Grain texture
- Burnishing
- Rub-through Materials
- Transparency
We have extensive libraries of photorealistic wood materials to work with. In most cases, we are able to quickly adapt existing assets to meet the needs of your project with minimal time. A notable exception is when materials need to be 100% real-world matches. This requires significant test rendering and revision/approval cycles.
3D furniture rendering is a lot like real-world furniture photography. Our artists use digital lights, simulated cameras, and even have to mess with things like exposure values, perspective correction, and lens focal length. Each project undergoes a test-rendering stage in which low-resolution images are created. These images will be provided to you for feedback. These test renderings don’t guarantee no revisions will be required, but are an inexpensive way to avoid large revisions.
5. Final Rendering + Post Production
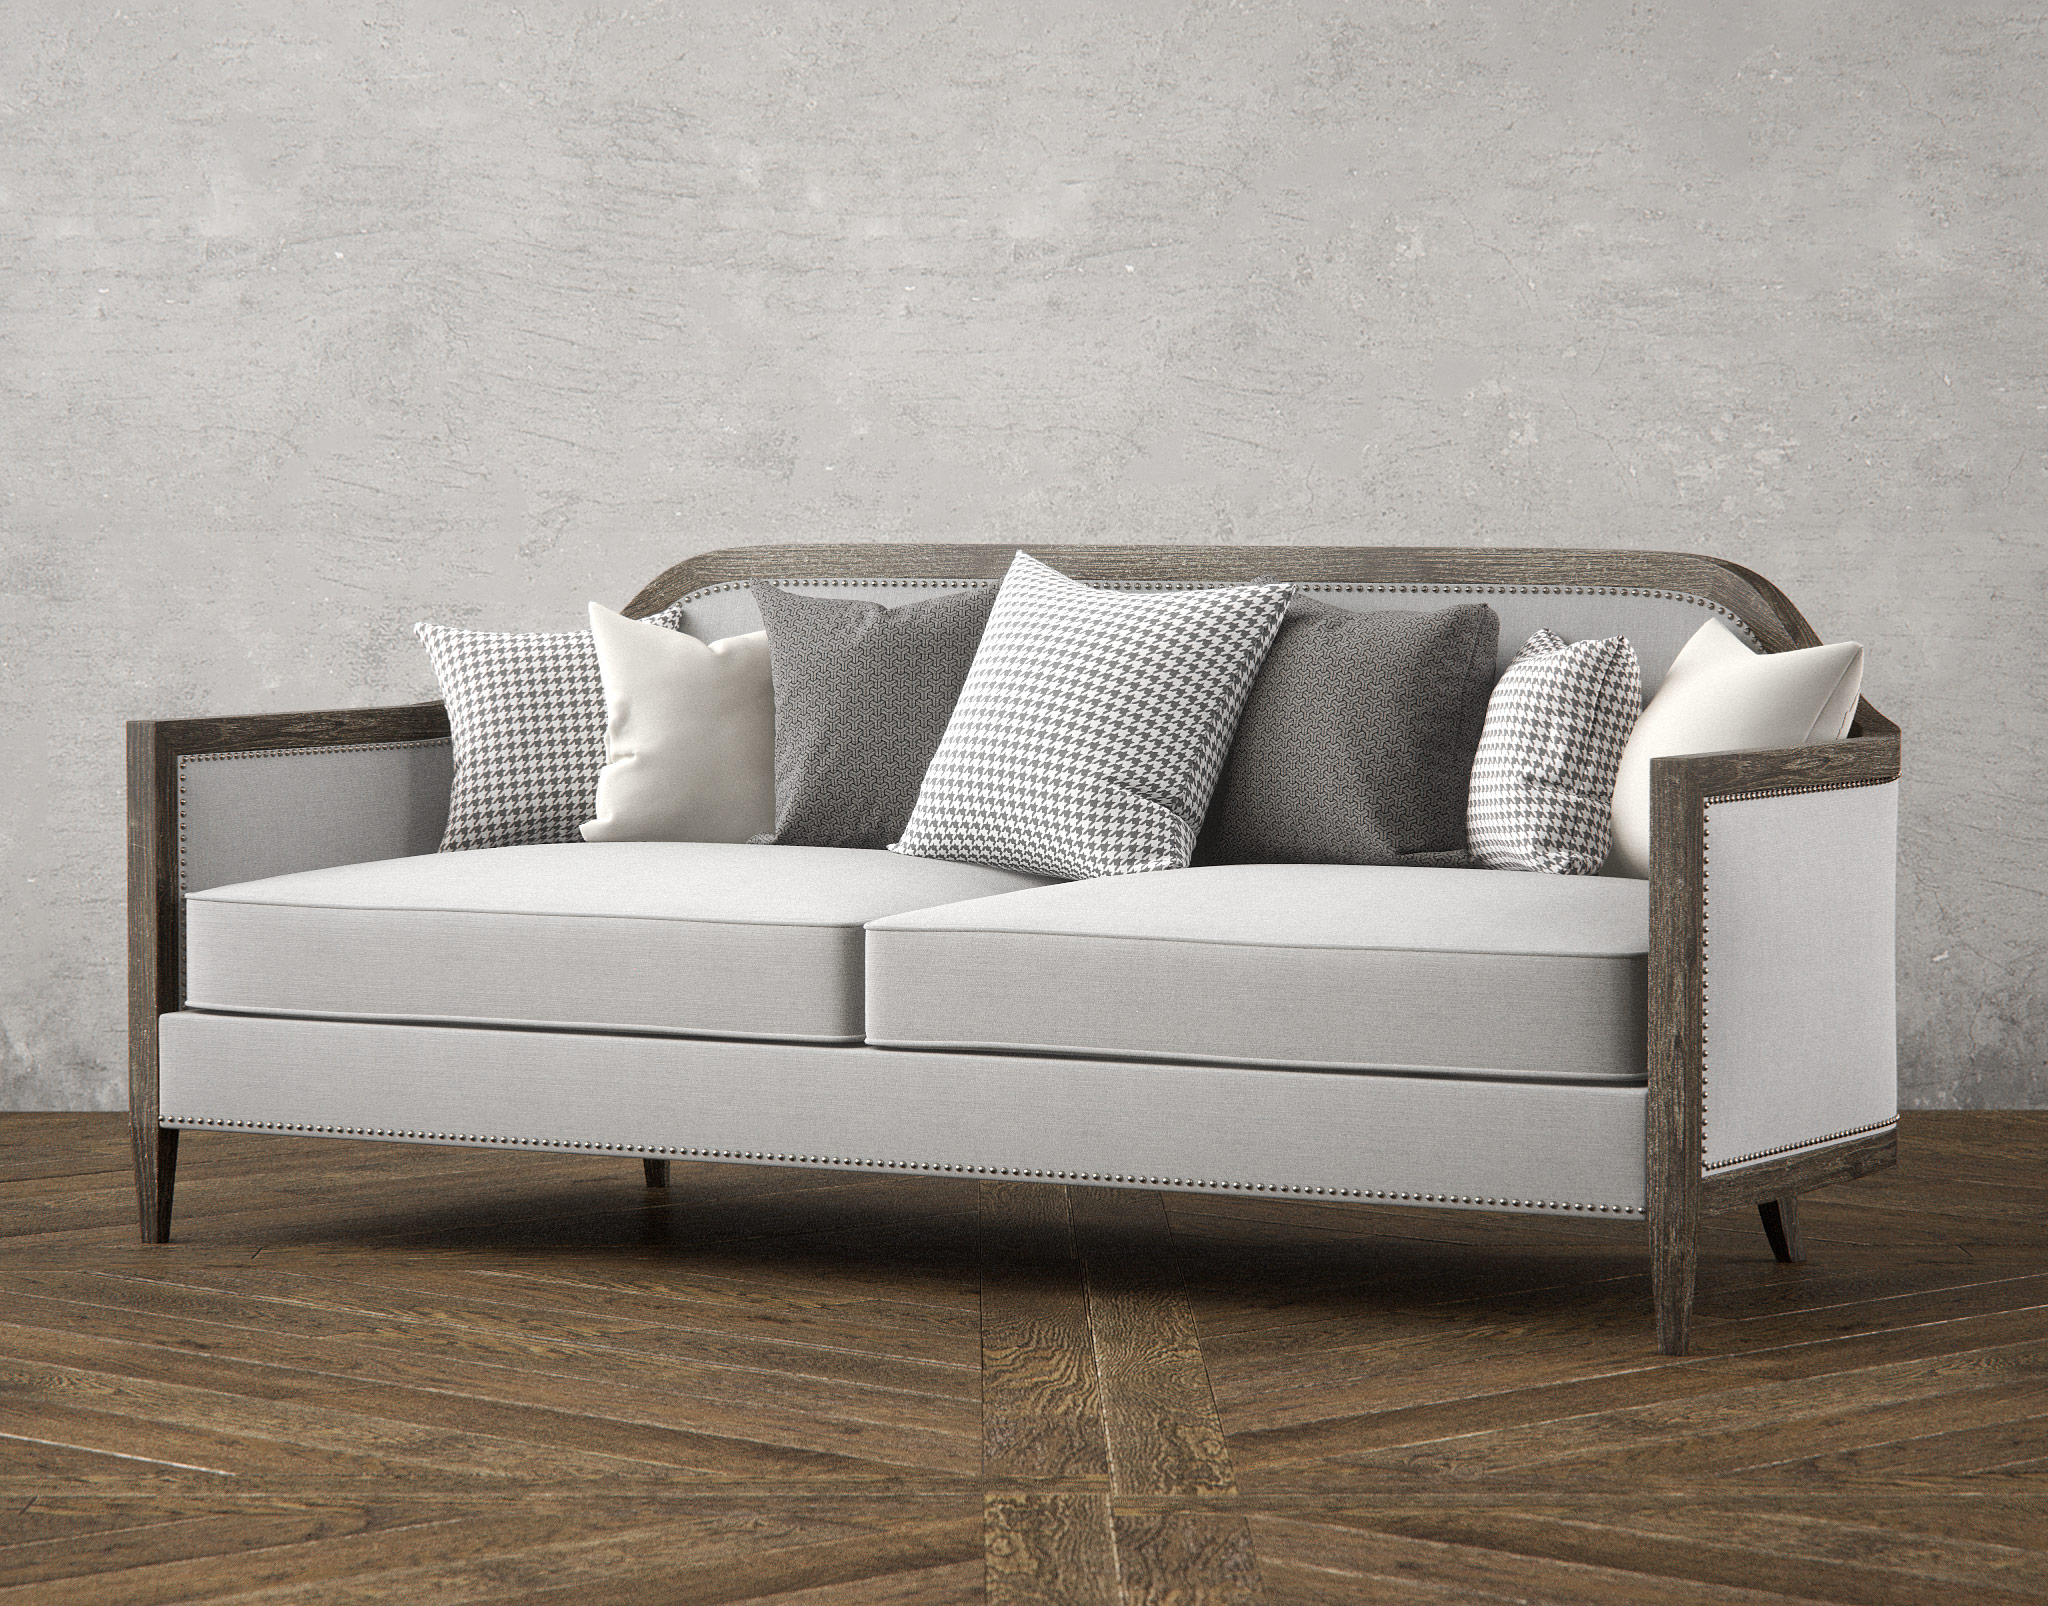
A perspective rendering of the ‘Mollis’ Sofa
After making any adjustments required after test rendering, your project will be submitted for network rendering at full-resolution. Depending on the complexity of the scene files, this stage may represent a significant aspect of your project cost. Animations have the largest rendering cost, lifestyle images have the next, and renderings of projects on plain white backgrounds have the least.
After final images have rendered, our artists will put the finishing touches on them using software such as Photoshop. This stage often represents only a minimal amount of cost but can start to add up for projects involving many images. This is a very manual process in most cases.
Furniture Specific Considerations
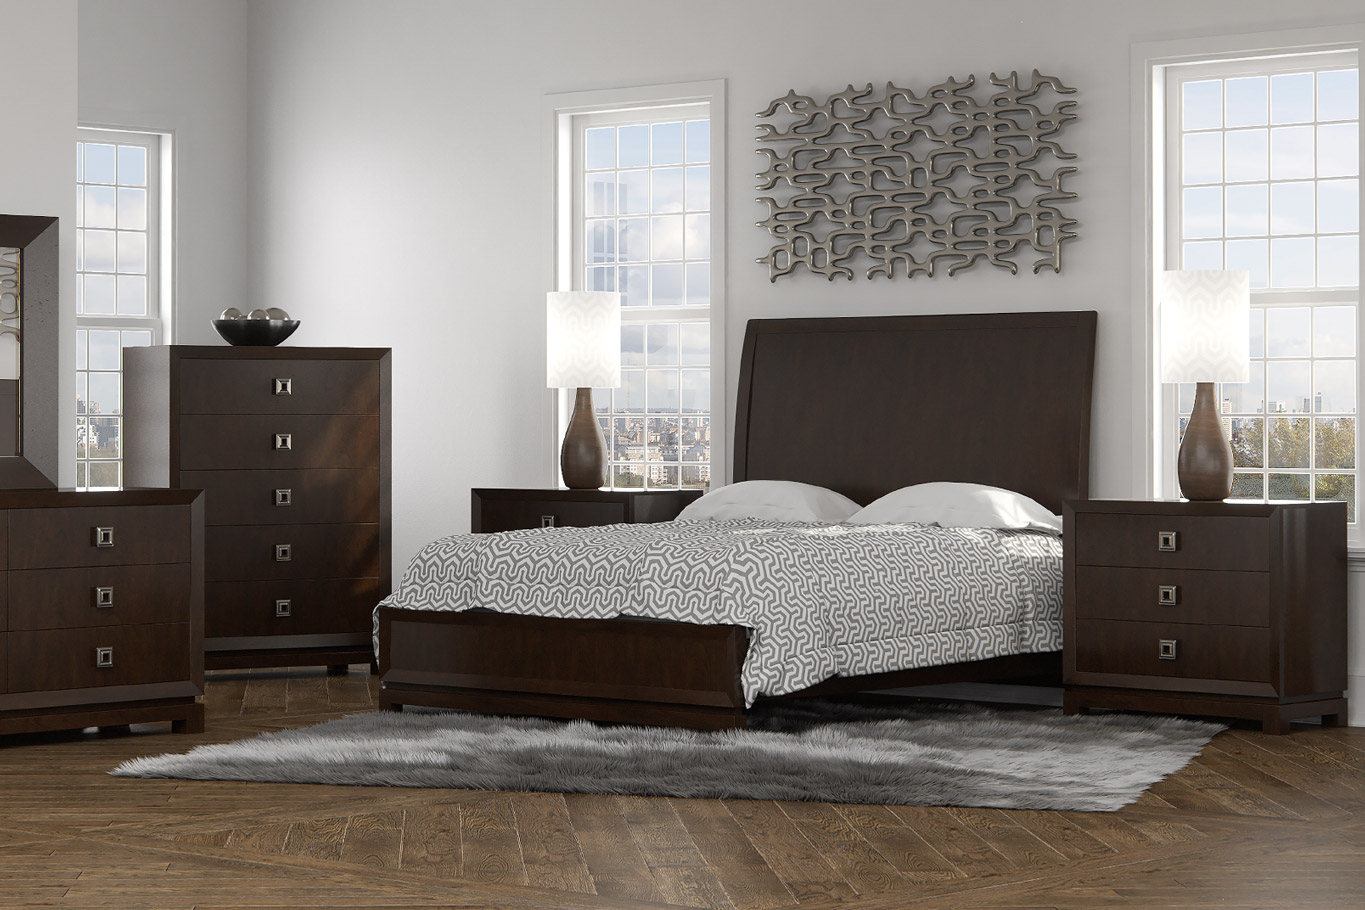
A lifestyle 3d rendering of the Caudex bedroom collection
The above guidelines are relevant to most 3D rendering projects. I believe our furniture rendering services are among the best on the market for the special considerations we make specific to the furniture industry. These are the details that an average rendering service isn’t likely to provide. We excel at some of these considerations by having developed custom tools to save time. Below are several examples of how our experience within the furniture and home goods industry allows us to create better, more realistic, furniture renderings more affordably.
Fine Wood Finishes
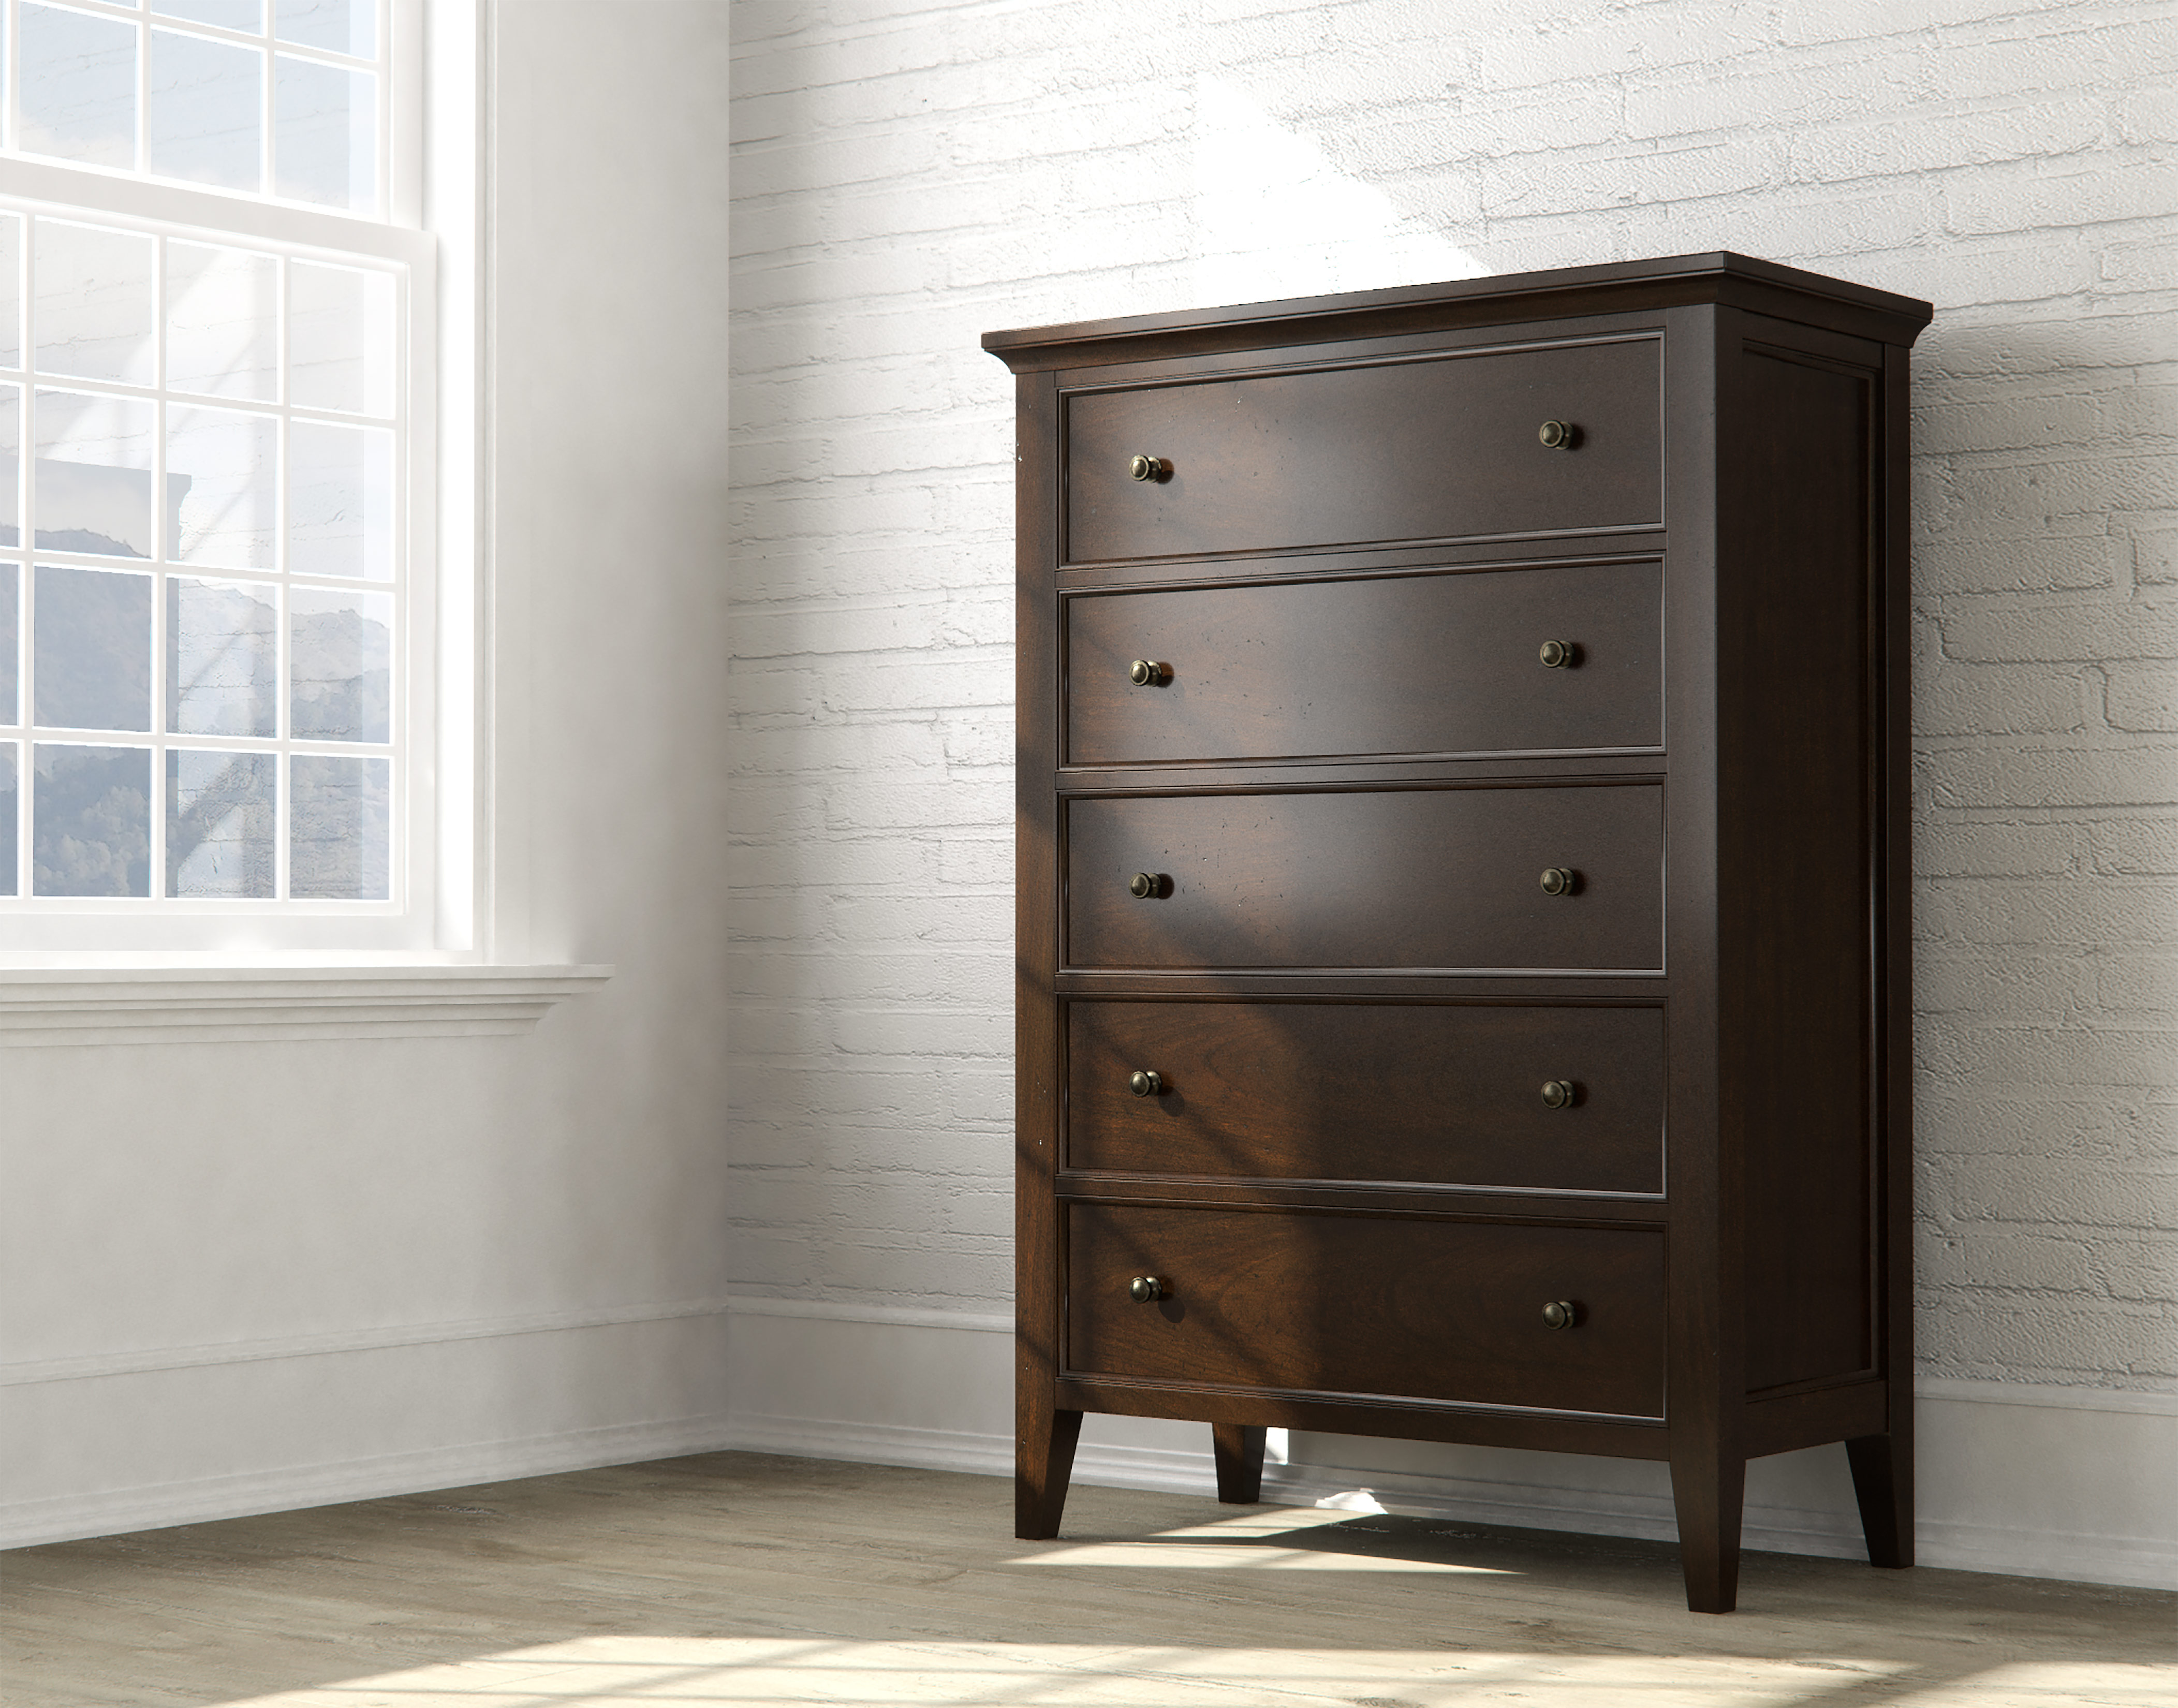
A simple lifestyle rendering of the Bradstreet 5-Drawer Chest shown in a cathedral cherry finish
Have you ever searched Google images, Pinterest, or Instagram to find a wood texture? The problem with 99% of these textures is they aren’t optimized for 3D rendering and create seamlines where the edges overlap. We have an extensive library of fine furniture finishes that have been developed, by manually taking pictures of finish panels in many cases, over the years. Check out this artist tutorial on how to create seamless textures for a better overview of this process.
Furniture Specific Technology
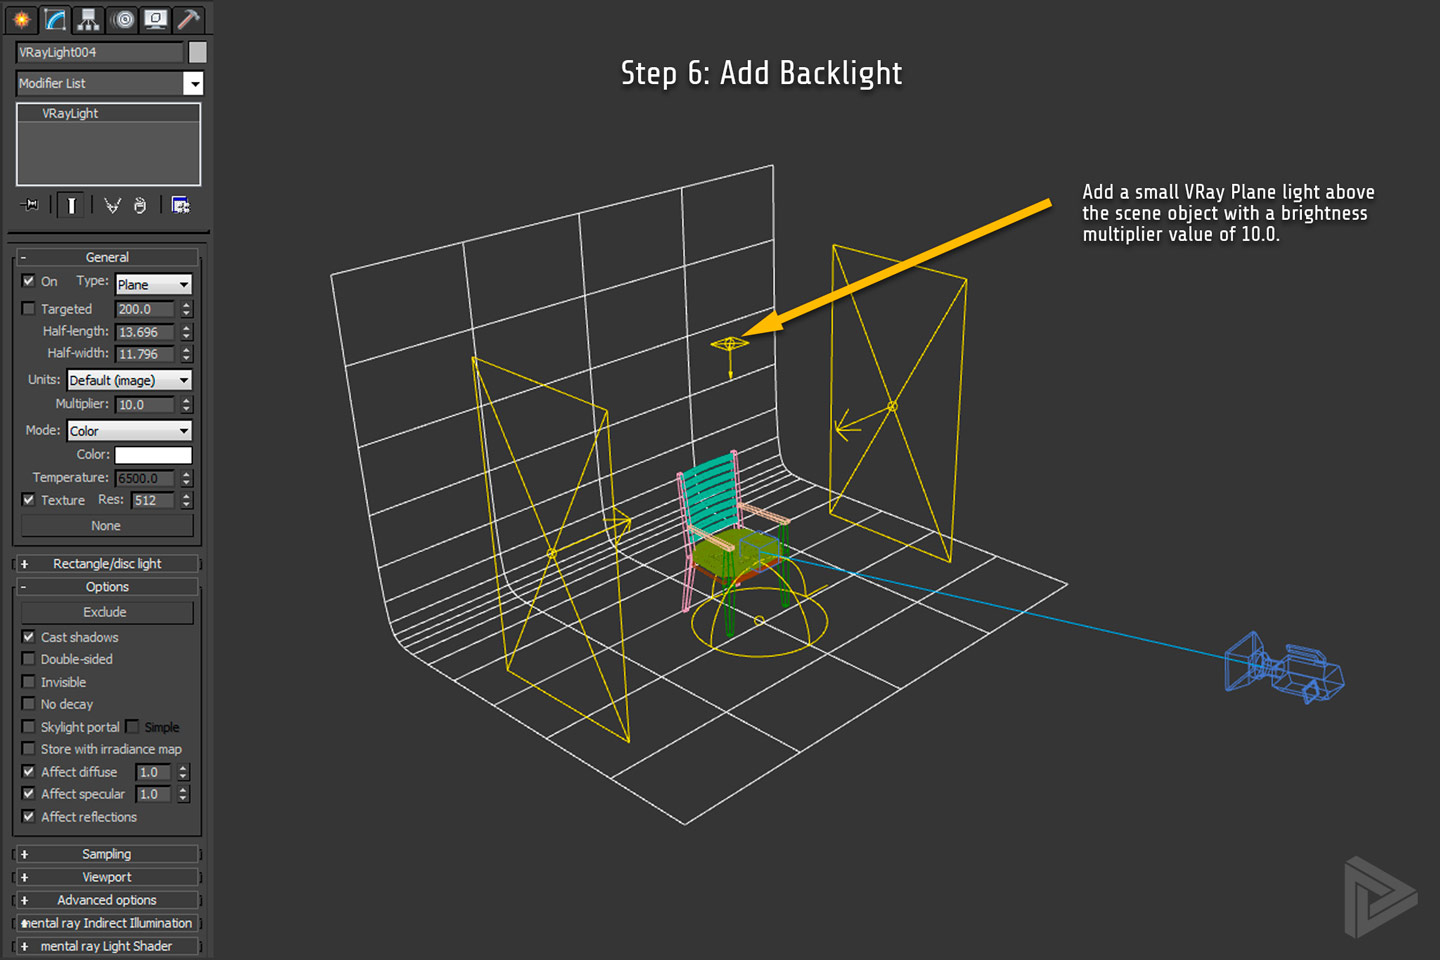
Backlights go by several names and can be used in many different ways. Here, we’re adding one above the scene object to create stronger shadows on a rendering of a 3D chair model
Did your last rendering company know what split veneering was? Did you have to explain what burnishing meant? Maybe the term seeded glass involved you scouring Pinterest again. Not only are our artists familiar with these terms but we have specialized software, plugins, and materials to render these quickly and accurately—that translates to lower project cost.
Room Designs + Lifestyle Shots
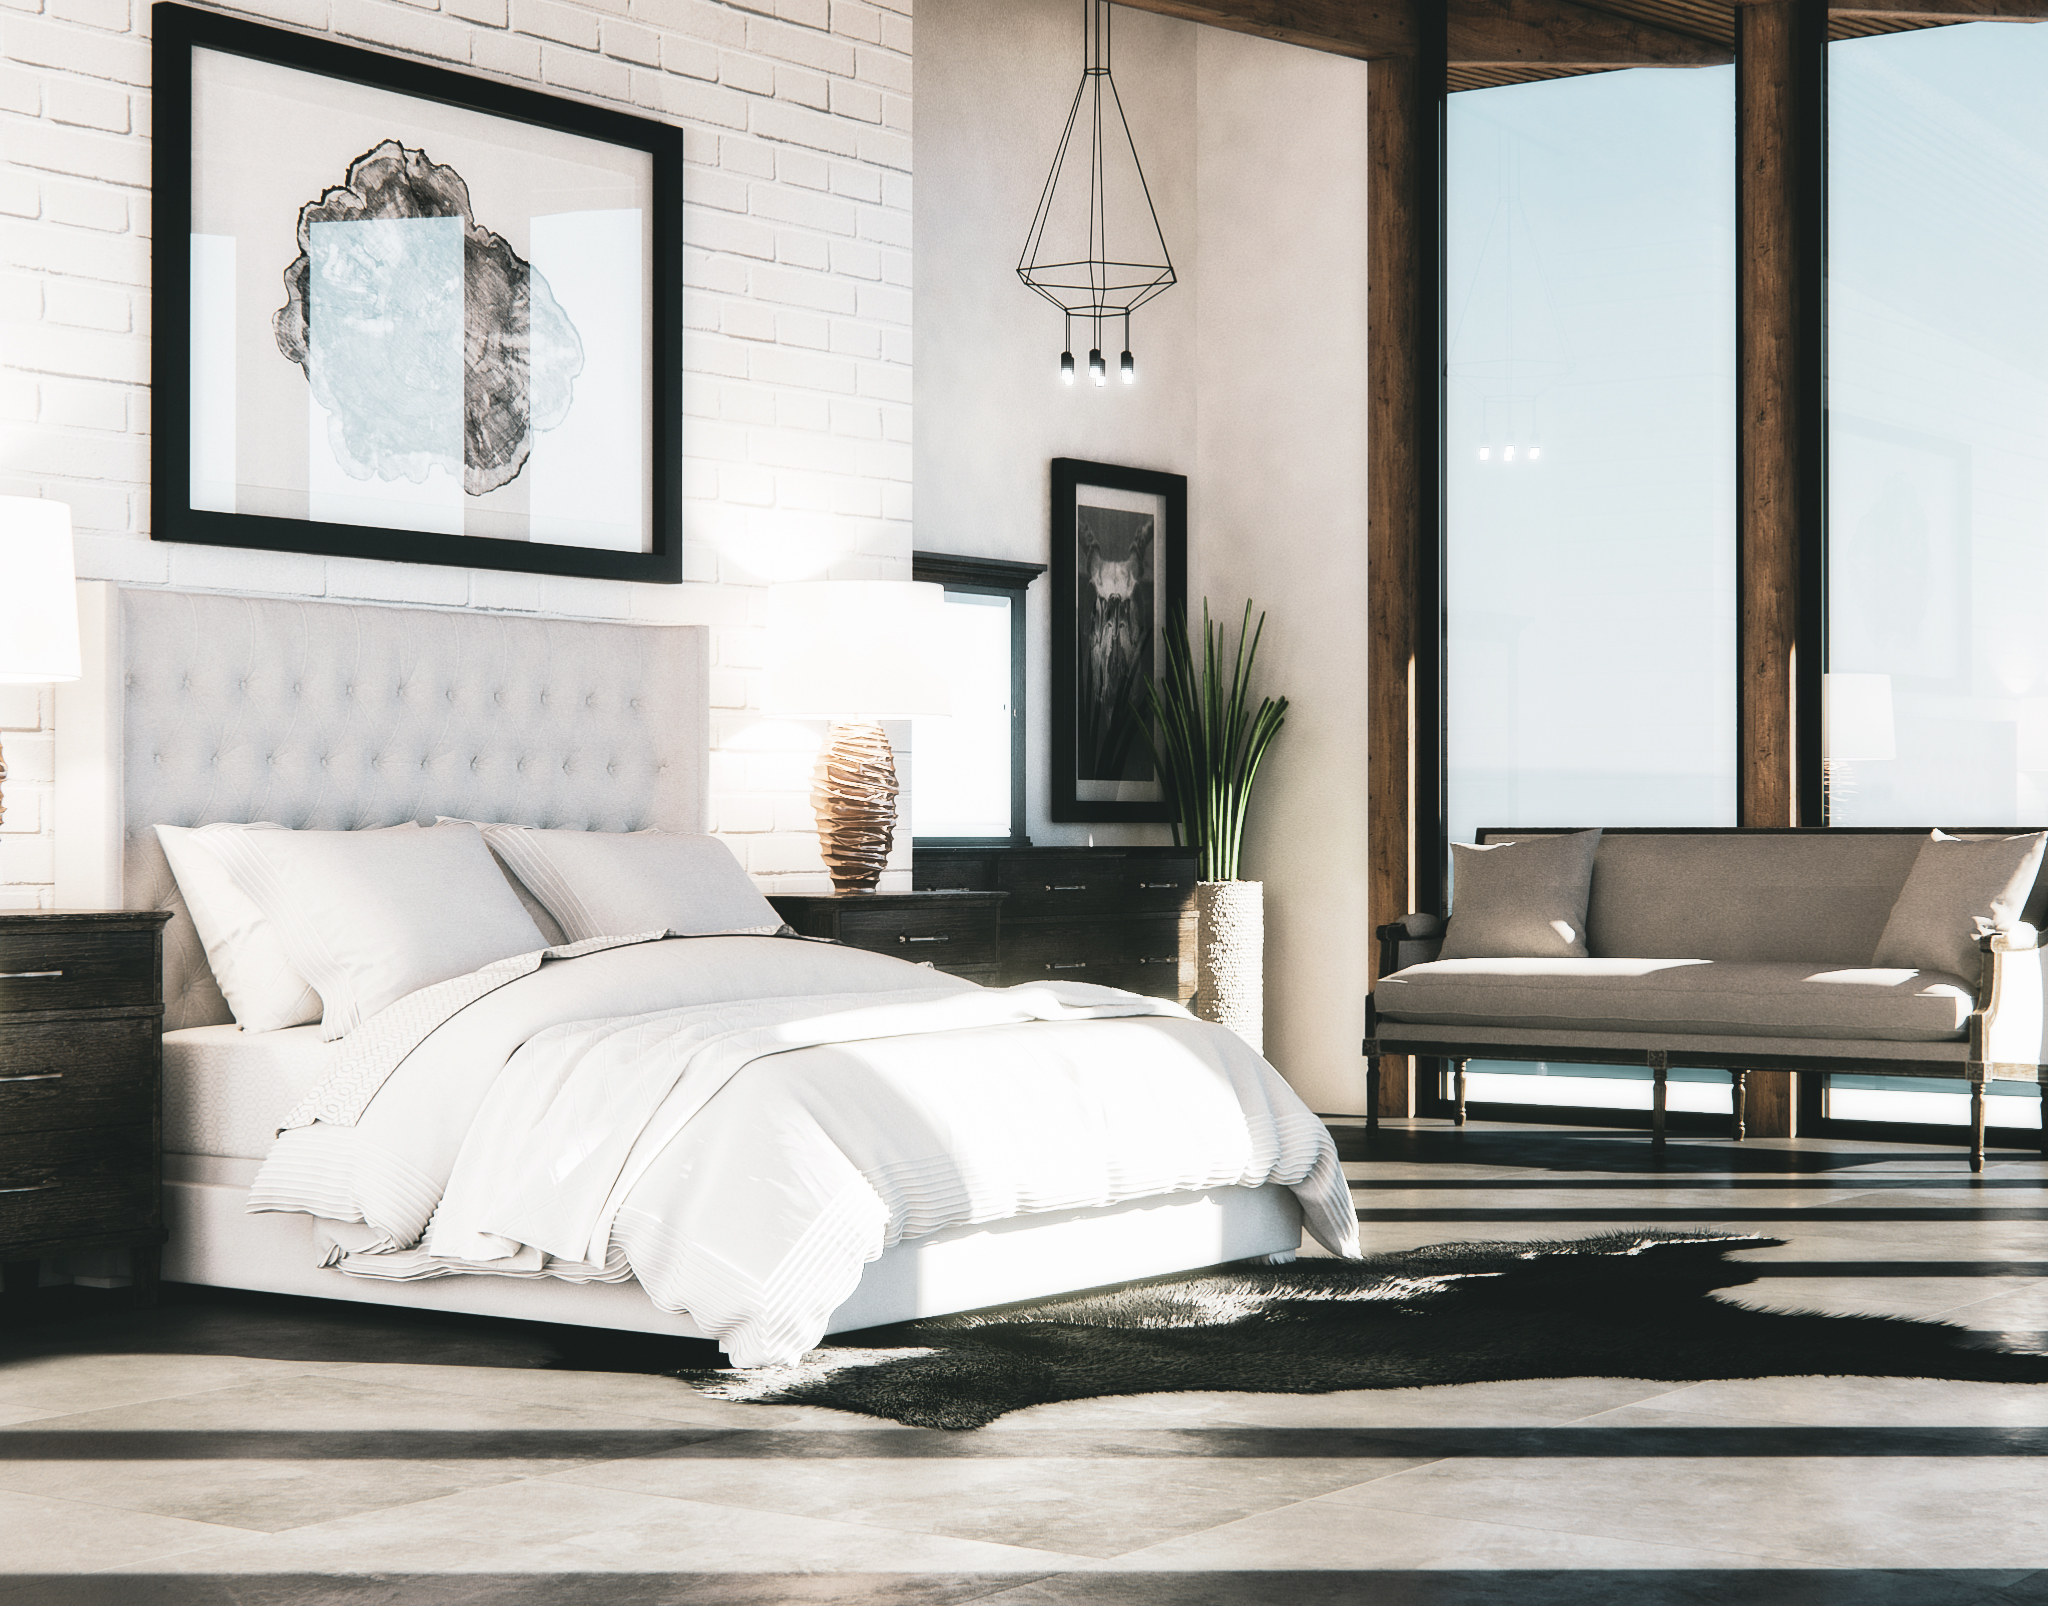
A lifestyle shot showcasing a bedroom design, furniture, and custom architecture
Several of our artists have spent hundreds of hours paging through product tear sheets, sales images, and back-catalogs of some of the world’s largest furniture manufacturers. We realize that the goal of 3D furniture renderings is to sell furniture. Our artists create images well-balanced to convey the desired impression without distracting from the actual furniture.
Edge Cases
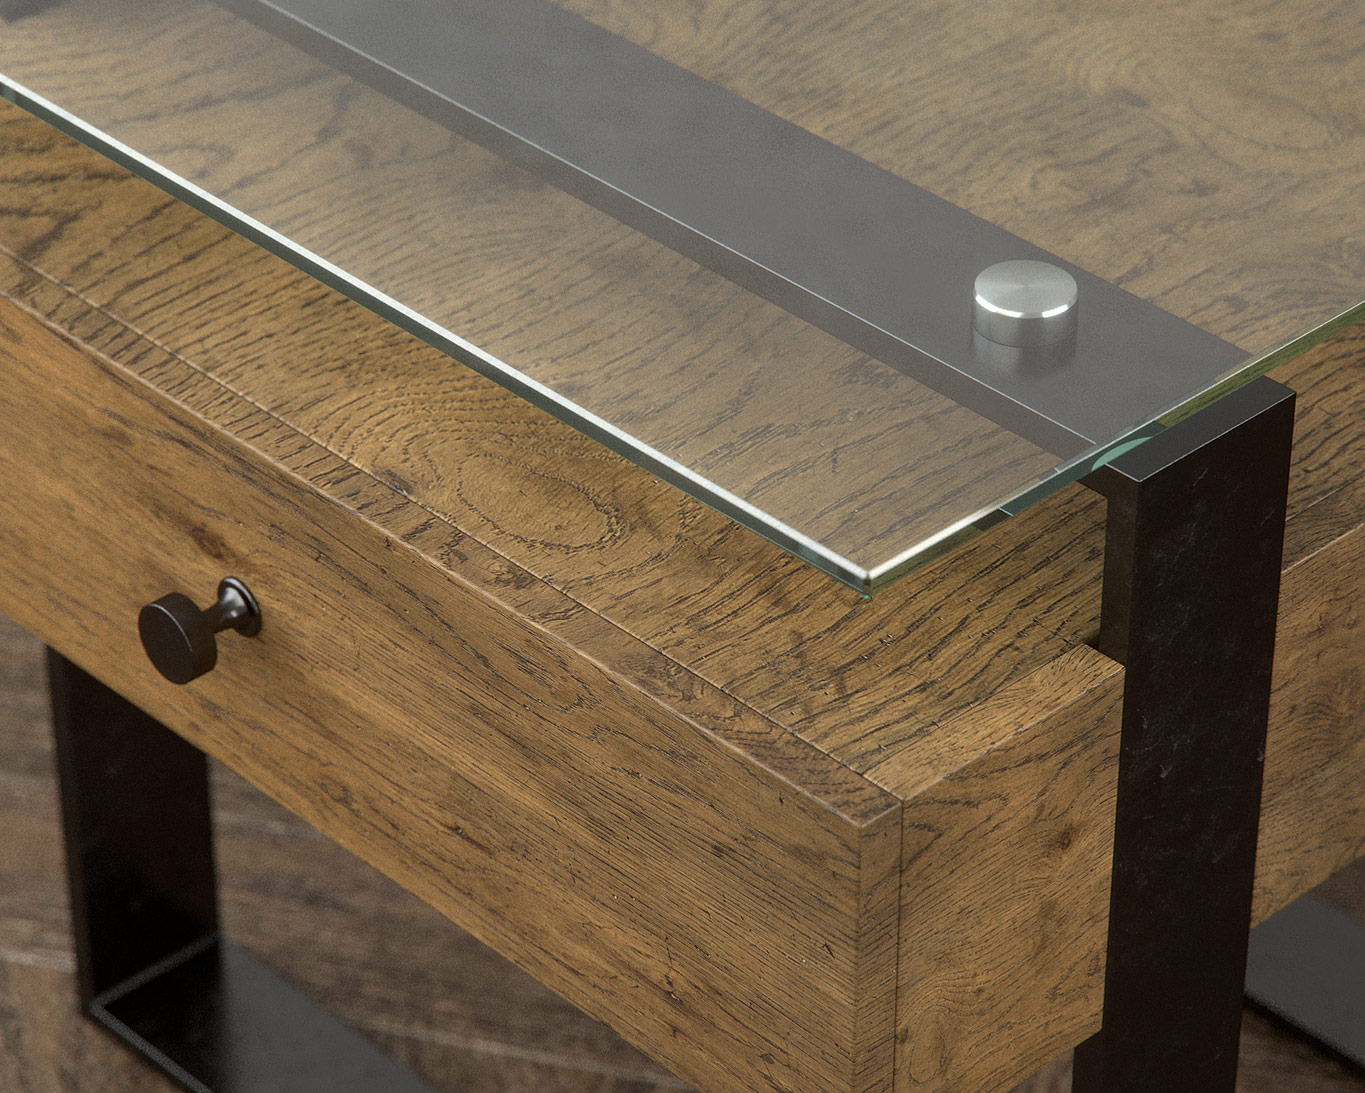
An auxiliary shot showcasing a custom chair side table design shown in reclaimed oak and industrial steel
There is no such thing as a perfect edge. We create models with slightly rounded edges to produce subtle highlighting that increases overall realism and quality. There are several ways that our artists can streamline this process, cut corners in some cases, and produce a quality final image without spending unnecessary time.
Review
Every project is unique. The process outline in this article is common to all projects but comprehensive for none. We’ve created thousands of photorealistic furniture renderings over the years. Our experience separates us from other unspecialized rendering services, but our greatest strength is our team. Our project managers and artists will work with you to ensure your project cost is kept to a minimum without sacrificing quality. Connect with a project manager today and get a free quote for your next project.


